Planning a 3D Project
Thursday July 10th 2008, 10:15 am
Filed under:
ConceptsAnimator Tomek Baginski gave a talk on planning a 3D animated short film at the 2007 Ottawa Animation Festival. I transcribed this from my notes.
- 1. Concept Art
Everything that will be modeled is drawn first.
- 2. Storyboards
Shots are planned out.
- 3. Animatic
Shots are timed. At this point the picture is locked.
- 4. Modeling
Front, back, and side views are drawn and placed on 2d cards.
- 5. Textures
Textures should be at least double the final image resolution. That means 4K textures for an HD film, and more for closeups.
- 6. Background Painting
Use as many 2D backgrounds as practical, moved on cards to preserve parallax motion. For a consistent look, you can build backgrounds in 3D, choose camera angles, and render out still images. You can also build simple 3D scenes for reference, hand-paint details on the reference image, and then project the result back onto the original 3D geometry.
- 7. Choreography
Figure out your rigging requirements. Try shooting live-action reference footage.
- 8. Rigging
Use bones for the jaw and blend shapes for other facial expressions. Use jiggle and cloth deformers, but sparingly; try to sculpt as much detail as possible into the model.
- 9. Lighting
Rely as much as possible on three-point lighting with simple, clean white light, and color-correct afterwards in compositing.
- 10. Depth of Field
Identify which shots will need depth-of-field effects. Unless you have to match live-action footage, use simple blur effects in your compositing program instead of true 3D depth-of-field effects in your animation program. They render faster and make little difference for most shots.
- 11. Render
For extra flexibility, render out multiple takes with different lighting setups or special effects. If that takes too much time, render the character animation cleanly and experiment with effects on a 2D background plate.
- 12. Composite
Try to give yourself as many options as possible in this final stage. Color-correction and other fine tuning is often much faster and easier in 2D.
Fake PXL-2000 Effect
Thursday July 10th 2008, 10:02 am
Filed under:
VideoThe deleted Wikipedia entry Simulating the PXL2000, preserved here, offers a video processing recipe that will reproduce the signature effect of the PXL-2000 audio-cassette-based camera:
1. Scale your footage to fit a 540 x 405 composition at 15 frames per second. (This is exactly 75% of a full 720 x 540 NTSC frame.)
2. Reduce the saturation to 0.
3. Apply a Gaussian blur with a radius of 1.5 pixels.
4. Sharpen the image 30%.
5. Clamp the black point to about 5% and the white point to about 95%.
6. Compress the dynamic range of the entire image by about 1.2 to 1.
7. Posterize to 90 steps.
8. Add a lag effect; this should add a small proportion of the three previous frames to each frame, giving slight trails and motion artifacting.
9. If desired, add a scanline or “TV” effect.
10. Clamp the white and black points again.
11. Apply a second 1.5-pixel Gaussian blur.
12. Expand your composition to 720 x 540, leaving a large black border around the frame.
13. If necessary, scale your finished composition to meet your output requirements (720 x 480 for an NTSC DVD, for example).
I’m using After Effects, but many similar programs should work equally well. Here’s an After Effects 6.5 project file.
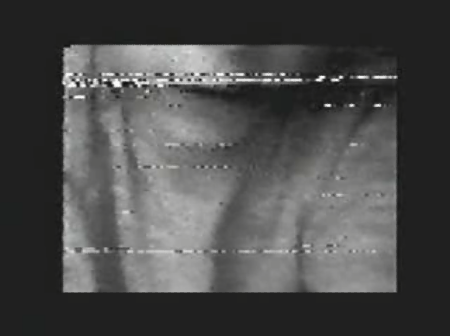
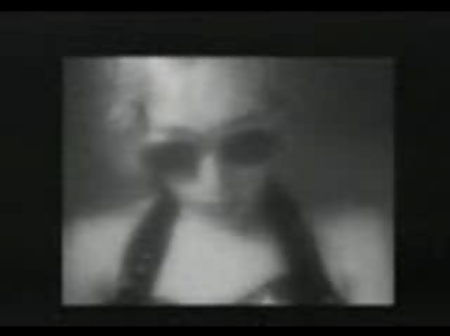
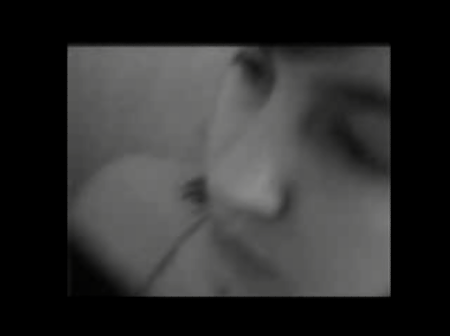
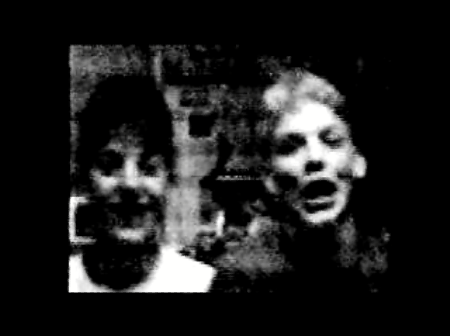
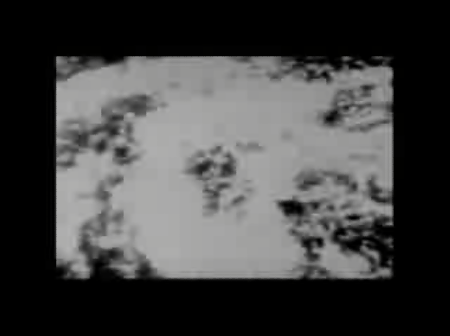
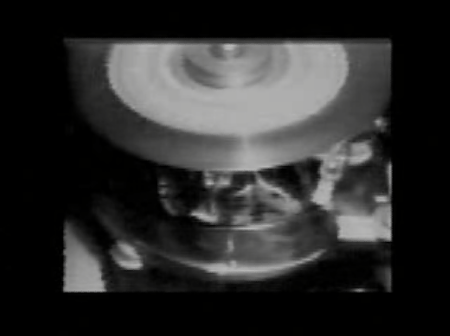
For reference, here are some genuine PXL-2000 examples:
Read Canopus DV files
A decade ago, Apple and Microsoft had just begun to offer DV video capture over Firewire as a built-in OS feature. The quality of their early DV codecs was awful, so smaller companies stepped in to provide better ones. The Canopus codec was, arguably, the best of the lot, but it was crippled to work only on a system using their expensive custom Firewire cards. Since the cards are no longer sold, this creates a problem for people with lots of Canopus DV AVI files still lying around.
If it’s worth it to you to continue working in the Canopus codec–in my opinion, its superior quality still holds up–their Procoder software (US$500) includes an un-crippled version. For the rest of us, fortunately, Canopus was a good corporate citizen; they released several free tools to help out their former customers. Here are your options:
1. Canopus DV Playback codec (Windows only).
Install this and you can read Canopus AVIs. This is the most hassle-free solution if you run Windows and just want to import the files into another program. However, you’d need to convert them to another format to carry them over to a non-Windows OS, with accompanying generation loss. And even on Windows, Canopus files still can’t be played directly over Firewire out to tape without Canopus hardware.
2. Canopus DV Converter app (Windows only):
This is a step up; it reads a Canopus AVI and writes a Microsoft DV AVI, which you can play and record to tape on both Mac and Windows. This is probably the simplest archival solution. However, it has an annoying limitation–it can’t convert video files with no audio track. In the settings, set the target format to Microsoft DV (AVI 2).
For converting any Canopus file, including those without an audio track, there’s:
3. AVI FourCC Changer (Win) or AVI FourCC Changer X (PPC Mac).
It’s not as user-friendly as the Canopus converter, but it’s my preferred choice. It looks a bit like the old ResEdit file tweaker for Macs. You’ll see two text fields with the letters CDVC (sometimes one will be full of garbage characters). Change both of these to DVSD. Then save. (Be careful; unlike the Canopus converter, this overwrites your original file.)
4. AVI2CDVC (Windows only).
A command-line version that does the same thing, only you can batch-process a folder. Once again, remember that you’re overwriting originals.
And finally, if you just need to watch a Canopus file on any system, there’s:
5. VLC Player (Windows, Mac, and Linux)
Confirming once again that VLC Player plays everything, it’ll read a Canopus AVI just fine.
Premiere Projects on a Mac
Thursday July 10th 2008, 9:49 am
Filed under:
VideoAdobe Premiere Pro CS3 is the first version of Premiere to be released for Mac since 6.5 in 2002. It’s got an odd problem, though. Unlike previous Mac versions of Premiere–or any other Adobe product that I can think of, actually–it refuses to import Windows Premiere projects from earlier versions!
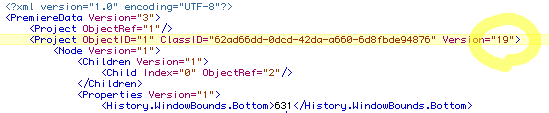
If your project file was made in Windows Premiere Pro 1.0 or later, there’s a relatively painless solution. Open the file in a text editor and change the tag that reads Project Version="15"…

…to Project Version="19".
You should now be able to open it in Mac Premiere Pro CS3.
If your project file was made in Windows Premiere 6.5 or earlier, unfortunately, you have two less attractive options. In order of preference:
Option 1. If you have a copy of Windows Premiere Pro 1.0 or later, use that to open and save the project. Then perform the text edit trick described above. This method should work for all affected project files.
Option 2. If you have a corresponding Mac Premiere version 6.5 or earlier, you can try using that to open and save the project. Then open it in Mac Premiere Pro CS3 directly. This method is less reliable, but is worth a try if you have an appropriate version handy.

