

Filed under: Final Cut
In 2012, interlaced video is 90 years old, so little wonder it’s a hard standard to completely get rid of. Many cameras capable of shooting true 24p video still have to save the images in interlaced formats called 24pA and 24PsF. But this is only a temporary inconvenience; with a bit of extra effort it’s possible to reconstruct the 24p original in Final Cut 7.
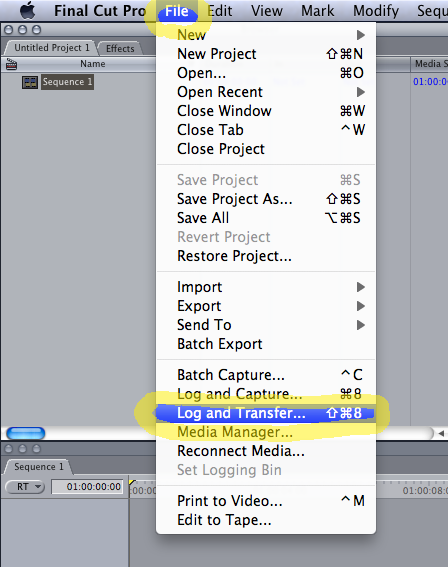
Step 1. Choose File / Log and Transfer.
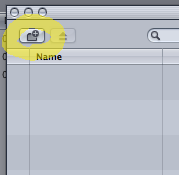
Step 2. Click this obscure icon to import files.
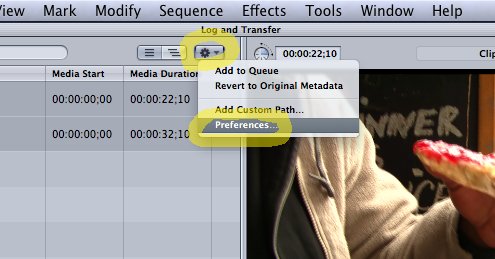
Step 3. Click this other obscure icon to view your Preferences.
Step 4. Make sure Remove Advanced Pulldown and Duplicate Frames is checked. Use ProRes as your video codec.

Step 5. Select the clips you want to transfer, or else choose Edit / Select all.

Step 6. When you’ve made your selections, choose Add Selection to Queue to begin transferring.

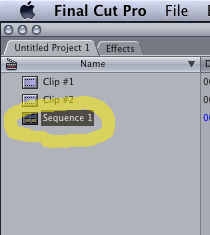
Step 7. Once you’ve transferred your clips, click on your Sequence.
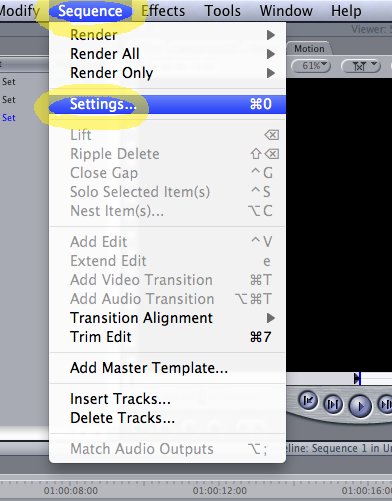
Step 8. Go to Sequence / Settings.
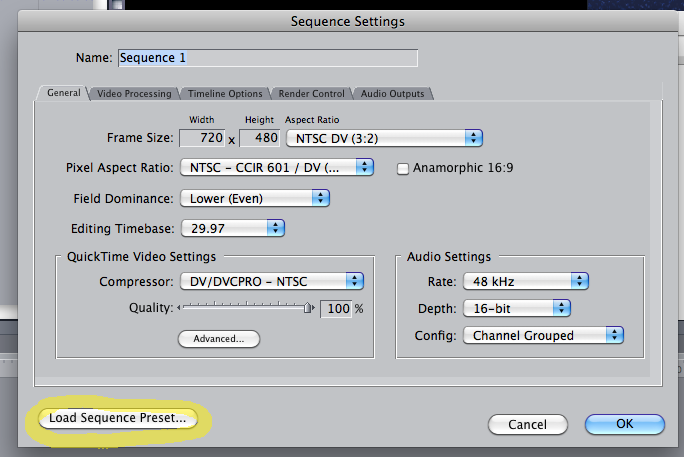
Step 9. The default settings probably won’t be what you want, so click Load Sequence Preset.
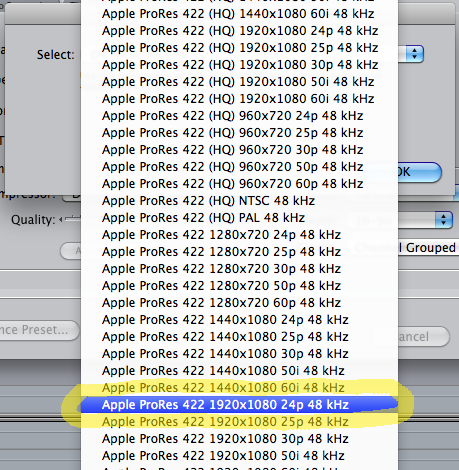
Step 10. Choose Apple ProRes 422 1920×1080 24p 48KHz as your preset.
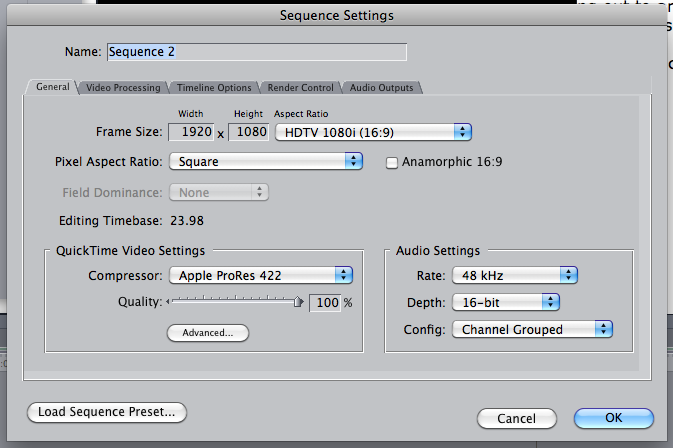
Step 11. After loading the preset, your settings should look like this.
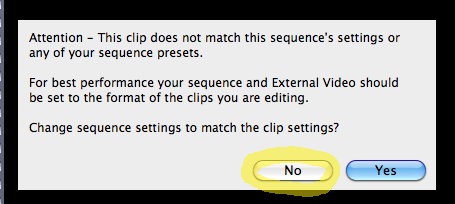
Step 12. When you add clips to your sequence, you’ll be presented with this warning. Be sure to click no.
Step 13. The thin green bar indicates that a realtime reverse telecine effect has been applied. You should now be able to view and export clean deinterlaced frames.
