Filed under: Final Cut
If you’d like to put a mask around your video in Final Cut, you can do it easily with a quick trip to Photoshop. ( By the way, this trick will work in almost any video editing program.)
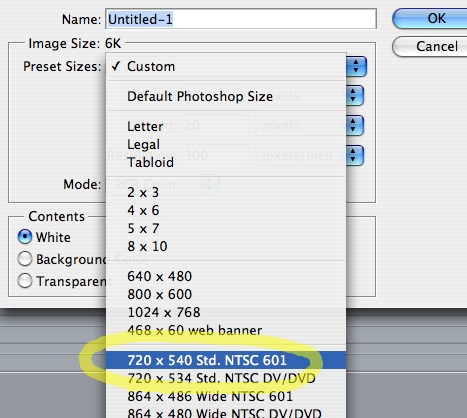
Step 1. Create a new image in Photoshop. For NTSC video (the standard in North America and part of Asia), make it 720 x 540. For PAL video (the standard in the rest of the world), make it 768 x 576. As you can see below, Photoshop helpfully offers these sizes as menu options.
Note: If these dimensions seem a little different from what you’re used to, remember that many modern video formats (DV and DVD, for example) are anamorphic. That means they require a “squished,” or distorted, recorded image, which they restore to normal size when they play back. We’re using the proper unsquished dimensions to create our masks; Final Cut will take care of the resizing automatically.
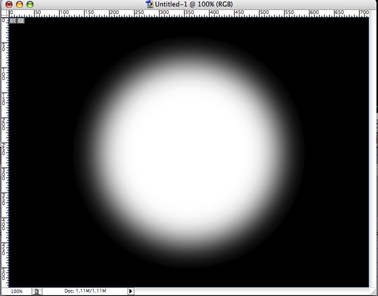
Step 2. Make your mask. Use black for any areas you want completely blocked, and white for any areas you want completely visible.
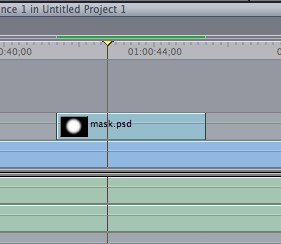
Step 3. Drop the mask image onto your Final Cut timeline, placing it on a new track above your original video.
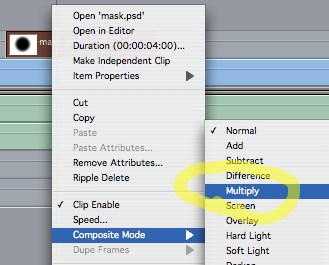
Step 4. Right-click (or control-click, on a one-button mouse) on the mask clip to bring up the Composite Mode menu. Choose Multiply.
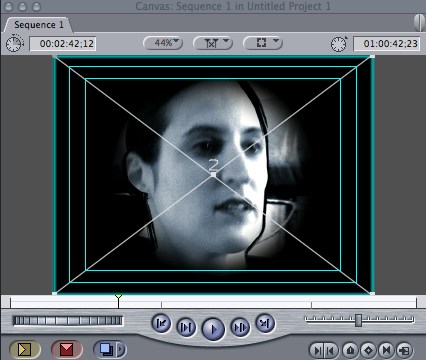
Step 5. Your original video on the track below should now be visible through the mask.
hey that’s my wife….! good site buddy
Comment by peter 09.08.06 @ 12:57 pmThanks, you made it so easy!
Comment by prajna 11.28.07 @ 4:07 pmnow everyone can do 007 style intros!
Comment by RG 03.28.08 @ 1:53 pm
