What’s Compression?
Monday January 05th 2009, 4:05 pm
Filed under:
ConceptsMy tutorial What’s 24-bit Color? explains how a computer draws an image, by flipping billions of microscopic switches. Compression, in a nutshell, means a way to flip fewer switches but get the same, or approximately the same, result.
Your average digital still camera, for instance, automatically compresses the images it shoots. Without compression, you would need to flip about 150 million switches on your memory card to save a six-megapixel photo. But the camera feeds numbers representing the image’s grid of colored dots through a series of equations, and comes up with a way to save your photograph using perhaps only 20 or 25 million switches. That means the final file takes up less space on your memory card–and if the math is clever enough, your eye might not be able to see any difference between it and the original.
If you’re interested in learning more, AVPreserve has a detailed description of this process. But for a useful everyday analogy, just look at a page of sheet music:
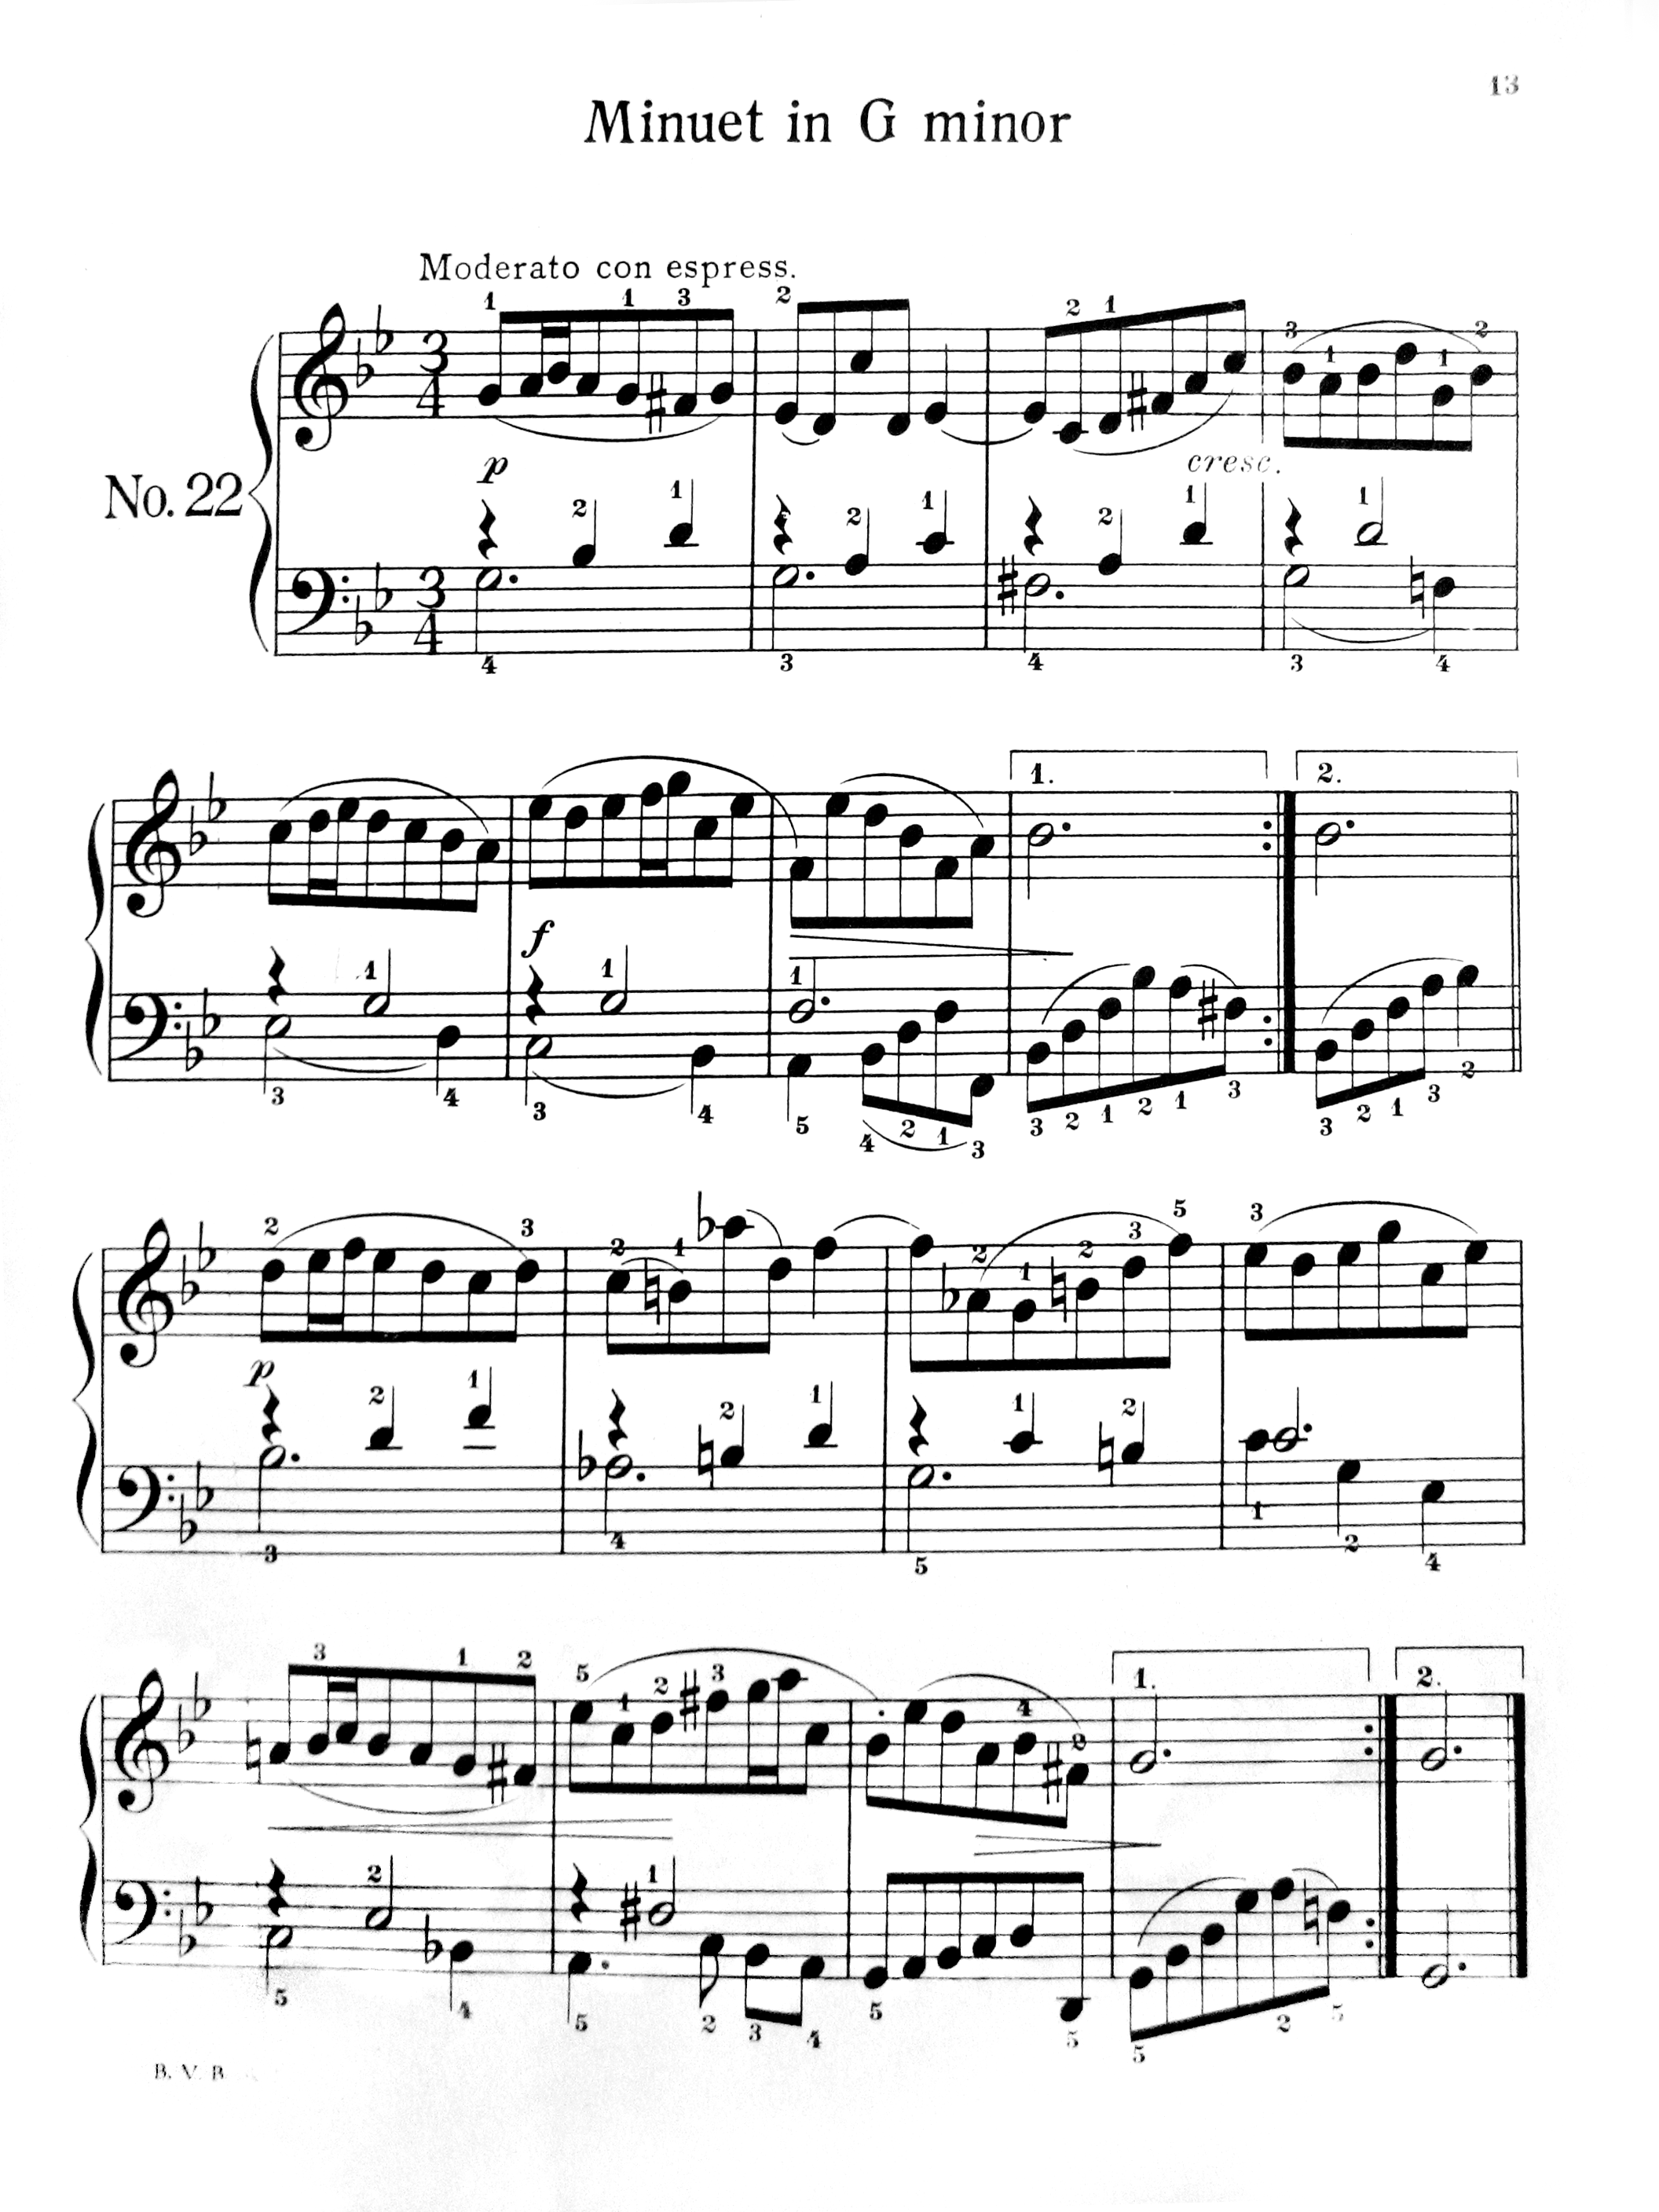
See the repeat signs–those heavy vertical black lines with pairs of dots?

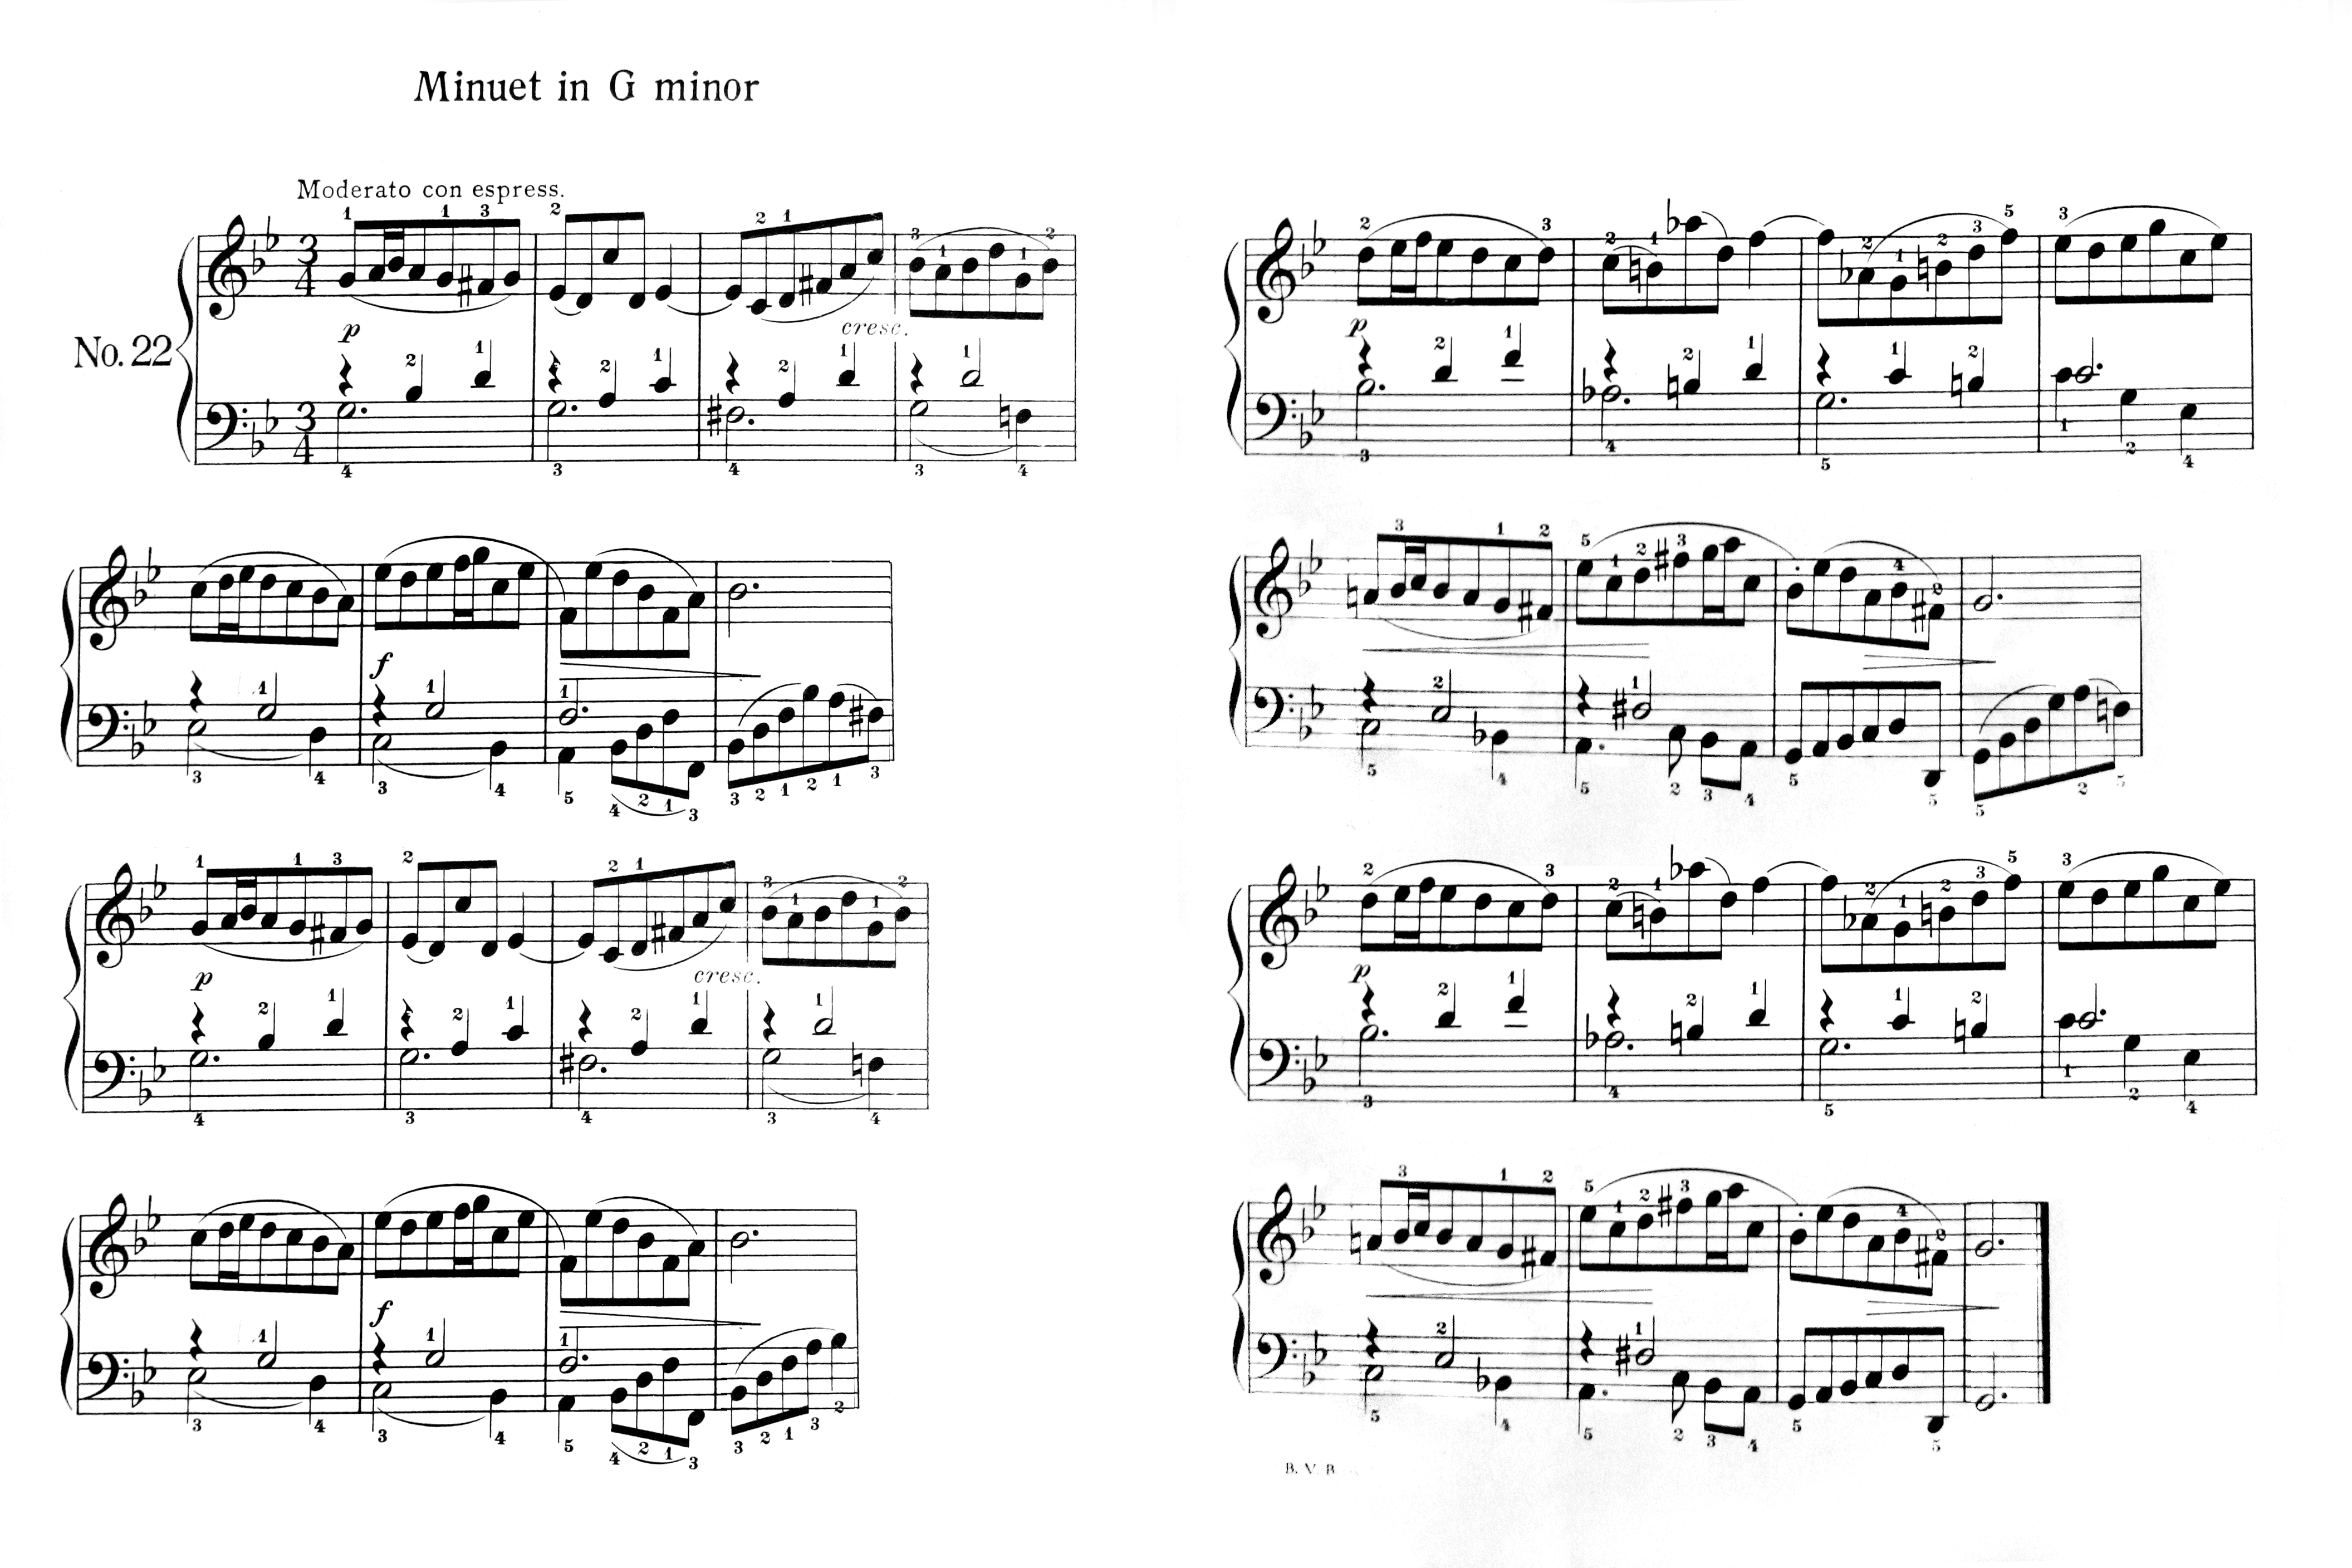
Before printing, when music was all copied by hand, composers invented a number of special instructions to save the copyists time. The repeat sign is one of these. The composer figures out which parts of the piece repeat themselves, and replaces them with a repeat sign that takes up much less space on the page. Here, a piece of music taking up two pages is reduced to one. If all the repeat signs were taken out, it would look something like this:
And that’s pretty much how the simplest kinds of compression work–millions, billions, and trillions of times over. For an explanation of more complex approaches, like H.264, see here.
Hand Trace a Photo
Thursday January 01st 2009, 4:34 pm
Filed under:
Flash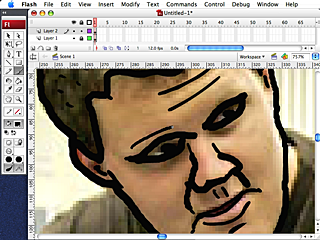
(click to play)
Here’s a video tutorial on how to import and hand-trace a photo in Flash.
Please Use DVD-R
Optical discs replaced the floppy, and now flash memory sticks might be bringing the DVD era to a close. Part of this is the fault of hardware manufacturers, who’ve spent years unable to agree on a single DVD standard. While a recordable CD is a recordable CD, more or less, blank DVDs are split into the DVD-R (“minus R”) and DVD+R (“plus R”) camps.
There are plenty of sites that run down the technical virtues of the two sides and their various flavors. So here’s my advice based on my subjective experience with the lot.
1. Recommended: DVD-R, the oldest recordable DVD standard, has by far the best compatibility. I strongly suggest you stick to this when making discs to hand out to strangers–film festival submissions, for example.
2. Be Careful: DVD+R, the newer standard, is technically superior–greater reliability and faster read speeds–but doesn’t work on older video players and computers (any Macs made before 2004, for example). Use your own judgement, but I avoid them for that reason.
3. Sometimes Useful: DVD+R DL (“Dual Layer”) has nearly twice the capacity of ordinary discs, 8.5GB instead of 4.5GB. Their compatibility is spotty, but if you’ve got to hand off files to someone you know, it’s not a bad way to move data around. Just don’t give them out to the general public.
4. Waste of Money: DVD-R DL discs are still sold in stores, but I don’t know who’s buying them. I’ve never been able to either write or read one successfully. Unless you know something I don’t, avoid them.
5. Getting Obsolete: RW (“ReWriteable”) discs did a good job over the past decade. But they’re expensive, their compatibility isn’t the greatest, and you have to erase them for reuse. Buy a USB key instead.
Better Flash Paintbrush
Tuesday September 23rd 2008, 7:37 pm
Filed under:
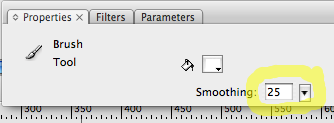
FlashHere’s an easy tip to improve Flash’s basic drawing tool, the paintbrush: dial down its automatic smoothing feature. This makes each stroke more faithful to your original drawn line, avoiding the stereotypical “Flash look.”
A potential drawback here is that less smoothing means more complex vector shapes, which make for bigger files and demand more CPU power during real-time playback. However, in many cases this shouldn’t make much difference to a modern computer–and if your project is going to end up exported to video anyway, there’s no excuse not to get the best-quality line possible.
So, while the Paintbrush is selected, open the Properties panel and adjust the Smoothing amount to taste. The default value is 50; I use 20.
Dealing with U.S. Copyright
Tuesday August 05th 2008, 11:22 am
Filed under:
ConceptsFair use of copyrighted material in the U.S. is explained in American University’s excellent Best Practices in Fair Use series. However, fair use covers only a limited set of uses for copyrighted works; public domain material can be used for any purpose.
As I understand it, here are the basic rules on what’s in the public domain [this is not legal advice]:
1. All works published up to and including 1922 are free to use. Just confirm the publication date.
2. Some works published from 1923 up to and including 1963 are free to use; the renewal records for books only are available here. During these dates, works were protected for 56 years, but you had to file a renewal after 28 years, which many people forgot to do. So up through the 1950s, a lot of material regularly passed into the public domain. If the work does not turn up in the search, that’s good–it means no renewal was filed, so you’re probably OK.
3. Very few works published from 1964 up to and including 1988 are free to use; the records are available here. The Library of Congress maintains complete online records for everything published from 1978 to the present. You can also search for works published from 1964 up to and including 1977, but be aware that the online records for those are incomplete. (Only renewals from those years are listed; you only have a record if someone still filed their 28-year renewal, even though the law had changed and they were no longer required to do so.)
4. No works published from 1989 onward are safe to use; with repeated term extensions, they may never become public domain. If you can’t make a case for fair use, you’ll always need permission from the rights holder. The rights holder might charge an expensive license fee, deny you permission, or just refuse to speak to you; an unscrupulous rights holder might also lie about what rights they actually own.
5. If you can’t find a clear answer, or for any important project, it may be worth contacting the publisher or paying for a Library of Congress card catalog search. This costs a shocking USD $165, but you do get an official-looking letter of confirmation if the work is in the public domain. By the way, this can be useful protection if your use of the work is going to end up on broadcast TV or something similar.
In all cases, when you run into obstacles, remember to check whether your use of copyrighted material might conceivably be covered by fair use rules. While the U.S. has some of the world’s strictest copyright laws, it also has among the world’s strongest fair use protections.
Unfortunately, even in cases where you’re technically in the right, distributors, broadcasters, ISPs, and content aggregators will often become frightened of legal trouble and refuse to touch your work. The Electronic Frontier Foundation provides legal advice for artists and defends people wrongly accused of infringement.
Planning a 3D Project
Thursday July 10th 2008, 10:15 am
Filed under:
ConceptsAnimator Tomek Baginski gave a talk on planning a 3D animated short film at the 2007 Ottawa Animation Festival. I transcribed this from my notes.
- 1. Concept Art
Everything that will be modeled is drawn first.
- 2. Storyboards
Shots are planned out.
- 3. Animatic
Shots are timed. At this point the picture is locked.
- 4. Modeling
Front, back, and side views are drawn and placed on 2d cards.
- 5. Textures
Textures should be at least double the final image resolution. That means 4K textures for an HD film, and more for closeups.
- 6. Background Painting
Use as many 2D backgrounds as practical, moved on cards to preserve parallax motion. For a consistent look, you can build backgrounds in 3D, choose camera angles, and render out still images. You can also build simple 3D scenes for reference, hand-paint details on the reference image, and then project the result back onto the original 3D geometry.
- 7. Choreography
Figure out your rigging requirements. Try shooting live-action reference footage.
- 8. Rigging
Use bones for the jaw and blend shapes for other facial expressions. Use jiggle and cloth deformers, but sparingly; try to sculpt as much detail as possible into the model.
- 9. Lighting
Rely as much as possible on three-point lighting with simple, clean white light, and color-correct afterwards in compositing.
- 10. Depth of Field
Identify which shots will need depth-of-field effects. Unless you have to match live-action footage, use simple blur effects in your compositing program instead of true 3D depth-of-field effects in your animation program. They render faster and make little difference for most shots.
- 11. Render
For extra flexibility, render out multiple takes with different lighting setups or special effects. If that takes too much time, render the character animation cleanly and experiment with effects on a 2D background plate.
- 12. Composite
Try to give yourself as many options as possible in this final stage. Color-correction and other fine tuning is often much faster and easier in 2D.
Fake PXL-2000 Effect
Thursday July 10th 2008, 10:02 am
Filed under:
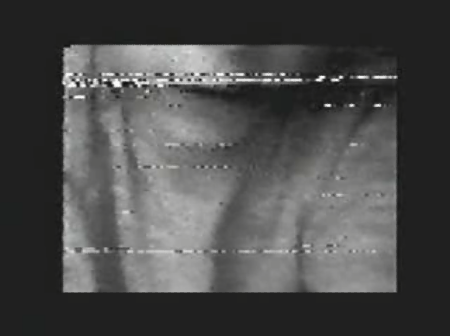
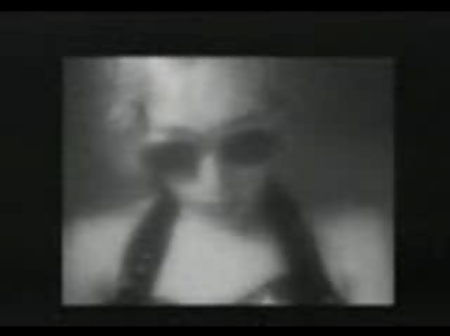
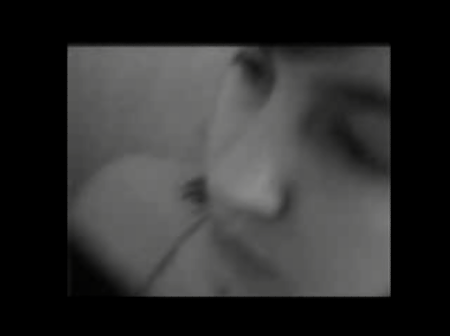
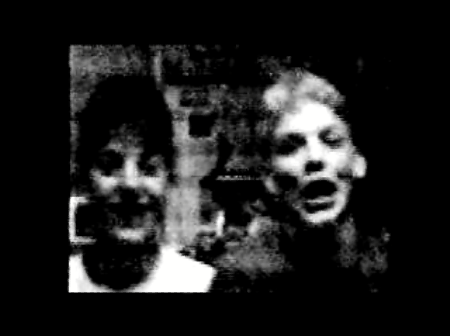
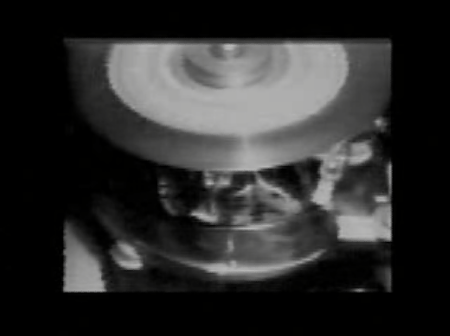
VideoThe deleted Wikipedia entry Simulating the PXL2000, preserved here, offers a video processing recipe that will reproduce the signature effect of the PXL-2000 audio-cassette-based camera:
1. Scale your footage to fit a 540 x 405 composition at 15 frames per second. (This is exactly 75% of a full 720 x 540 NTSC frame.)
2. Reduce the saturation to 0.
3. Apply a Gaussian blur with a radius of 1.5 pixels.
4. Sharpen the image 30%.
5. Clamp the black point to about 5% and the white point to about 95%.
6. Compress the dynamic range of the entire image by about 1.2 to 1.
7. Posterize to 90 steps.
8. Add a lag effect; this should add a small proportion of the three previous frames to each frame, giving slight trails and motion artifacting.
9. If desired, add a scanline or “TV” effect.
10. Clamp the white and black points again.
11. Apply a second 1.5-pixel Gaussian blur.
12. Expand your composition to 720 x 540, leaving a large black border around the frame.
13. If necessary, scale your finished composition to meet your output requirements (720 x 480 for an NTSC DVD, for example).
I’m using After Effects, but many similar programs should work equally well. Here’s an After Effects 6.5 project file.
For reference, here are some genuine PXL-2000 examples:

Read Canopus DV files
A decade ago, Apple and Microsoft had just begun to offer DV video capture over Firewire as a built-in OS feature. The quality of their early DV codecs was awful, so smaller companies stepped in to provide better ones. The Canopus codec was, arguably, the best of the lot, but it was crippled to work only on a system using their expensive custom Firewire cards. Since the cards are no longer sold, this creates a problem for people with lots of Canopus DV AVI files still lying around.
If it’s worth it to you to continue working in the Canopus codec–in my opinion, its superior quality still holds up–their Procoder software (US$500) includes an un-crippled version. For the rest of us, fortunately, Canopus was a good corporate citizen; they released several free tools to help out their former customers. Here are your options:
1. Canopus DV Playback codec (Windows only).
Install this and you can read Canopus AVIs. This is the most hassle-free solution if you run Windows and just want to import the files into another program. However, you’d need to convert them to another format to carry them over to a non-Windows OS, with accompanying generation loss. And even on Windows, Canopus files still can’t be played directly over Firewire out to tape without Canopus hardware.
2. Canopus DV Converter app (Windows only):
This is a step up; it reads a Canopus AVI and writes a Microsoft DV AVI, which you can play and record to tape on both Mac and Windows. This is probably the simplest archival solution. However, it has an annoying limitation–it can’t convert video files with no audio track. In the settings, set the target format to Microsoft DV (AVI 2).
For converting any Canopus file, including those without an audio track, there’s:
3. AVI FourCC Changer (Win) or AVI FourCC Changer X (PPC Mac).
It’s not as user-friendly as the Canopus converter, but it’s my preferred choice. It looks a bit like the old ResEdit file tweaker for Macs. You’ll see two text fields with the letters CDVC (sometimes one will be full of garbage characters). Change both of these to DVSD. Then save. (Be careful; unlike the Canopus converter, this overwrites your original file.)
4. AVI2CDVC (Windows only).
A command-line version that does the same thing, only you can batch-process a folder. Once again, remember that you’re overwriting originals.
And finally, if you just need to watch a Canopus file on any system, there’s:
5. VLC Player (Windows, Mac, and Linux)
Confirming once again that VLC Player plays everything, it’ll read a Canopus AVI just fine.
Premiere Projects on a Mac
Thursday July 10th 2008, 9:49 am
Filed under:
VideoAdobe Premiere Pro CS3 is the first version of Premiere to be released for Mac since 6.5 in 2002. It’s got an odd problem, though. Unlike previous Mac versions of Premiere–or any other Adobe product that I can think of, actually–it refuses to import Windows Premiere projects from earlier versions!
If your project file was made in Windows Premiere Pro 1.0 or later, there’s a relatively painless solution. Open the file in a text editor and change the tag that reads Project Version="15"…

…to Project Version="19".
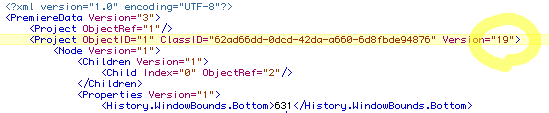
You should now be able to open it in Mac Premiere Pro CS3.
If your project file was made in Windows Premiere 6.5 or earlier, unfortunately, you have two less attractive options. In order of preference:
Option 1. If you have a copy of Windows Premiere Pro 1.0 or later, use that to open and save the project. Then perform the text edit trick described above. This method should work for all affected project files.
Option 2. If you have a corresponding Mac Premiere version 6.5 or earlier, you can try using that to open and save the project. Then open it in Mac Premiere Pro CS3 directly. This method is less reliable, but is worth a try if you have an appropriate version handy.
Power Manager Reset
If you’re getting odd hardware errors with a Mac laptop, try the old voodoo trick of a power manager reset before you assume it has a mechanical fault. For instance, recently I started getting “Error Code 0x8002006E” when I tried to burn a DVD. This code is supposed to report a bad blank disc–but if you get the message no matter what you have in your drive, that obviously isn’t your problem.
The specific instructions for a power manager reset vary by model, but it involves turning off the machine, unplugging it and taking out the battery, and holding down a certain key combination for a few seconds. (On newer models, the secret key is mercifully just the power button.)
Here are step-by-step instructions for various models of:
68K Macs
PPC Macs
Intel Macs (note that the Power Manager is called the “System Manager” now)

